
Christie here, with a new feature here on The Traveling Twig!
Each month, around mid-month, I will be trying out a tutorial I've seen online,
and letting you know whether I think it's a tutorial worth sharing or not!
Each month, around mid-month, I will be trying out a tutorial I've seen online,
and letting you know whether I think it's a tutorial worth sharing or not!
Tutorial #1 will be Jointed Love's bunting tutorial!
Supplies:
1. Scissors
2. String or Twine of some sort
3. Washi Tape

When it comes to Washi Tape (a fancy Japanese masking tape),
Jointed Love recommended ordering from Chickydoddle on Etsy:
I have to say... I am very tempted to spend a lot of money there, haha!
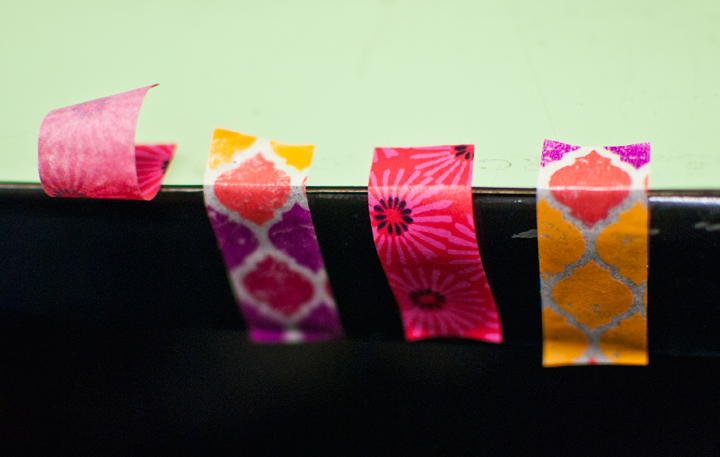
BUT! For those in the USA, you can find Washi Tape in your local stores too...
All of the Washi Tape you see below, I found at local stores (from craft stores to grocery stores).
Scotch Tape started making their own... so it's out there!

Step 1:
Cut off strips of tape to be the bunting flags.
Make sure that the tape is twice as long as you want the flag to be
(since you will be folding it over the string)
(since you will be folding it over the string)

Step 2:
You can pre-cut your flags and line them up along a table edge...
I
did this for the first 5... but since I was making a 19 inch bunting, I
gave up and just cut them as I needed them after that... lol!
Step 3:
Add the tape to the string.
Do this one piece of tape at at a time.
I gently pressed one edge of the tape to the table,
then positioned the string, then folded the tape around the string.
 |
| Before folding over the string. |
 |
| After folding over the string. |
Step 4:
Repeat Step 3 until you have filled up the string with as many flags as you would like.
Step 5:
Once you have all of your pieces of tape on the string,
it's time to cut them down into flag shape!

I cut them from the string to the point of the flag...
I find it easier to make the flag an even triangle this way.

The way I do it, being right handed, is I cut the right side first,
then I turn the flag around so that I'm cutting it from the base (near the string) to the point,
again on the right side. I just have more control this way!

Step 6:
Repeat Step 5 until you have done all of the pieces of tape!
THE END! XD

Trouble Shooting:
There's more!
There were a few little things that could have gone smoother
when I was making my bunting for the first time.
Problem 1:
The flags are all over the place! 0_0
Some were pointed up, some down...
as I would put them on, the string would twist,
so not all the flags were "hanging downward"by the end.
so not all the flags were "hanging downward"by the end.
In Jointed Love's tutorial, she says she taped her string to the table, but that it was an optional step.
I disagree! I think if I'd taped the string down it would have prevented all that twisting that made my flags all wonky!!
I disagree! I think if I'd taped the string down it would have prevented all that twisting that made my flags all wonky!!
So, my advice?

Make sure the string isn't moving when you're pressing your flags into place.

When you're done, they should all be hanging downward in the same direction!
Problem 2:
The tape doesn't line up!
This is something that might freak you out when it happens,
but really it isn't a problem at all!
Just so long as the tape touches evenly at the base near the string,
this issue is a non-issue.

•••••••••••••••••••••••••••••••••••••••••••••••••••••••••
Conclusion:
I loved this simple tutorial!
It was easy to figure out and follow!
I absolutely recommend it!!!!
I like that idea, we all know tutorials can look deceptively easy... Reminds me a bit of those Pinterest fail blogs (except without the fail).
ReplyDeleteI hadn't seen this tutorial before; now I feel even more accomplished for making the beer-bunting for the bar! The washi tape is super cute, I'd been ignoring it since it was so small and I doubted its stickiness. Might have to start paying more attention.
ReplyDeleteVery cute. I always wondered why they called it a bunting. Every time I think of a bunting I think of the thing you put the baby in. Tell Christie she did a wonderful job.
ReplyDeleteThat was cute! :D Thanks for sharing the tutorial and doing it.
ReplyDeleteI love the look of the bunting--if only I had an excuse to make some.... *hmm, maybe some of the quinlan college students might hang it up in their dorm rooms....?*
Thanks for sharing this tutorial. Looks pretty easy and very pretty. I think I will have to try it some time.
ReplyDelete